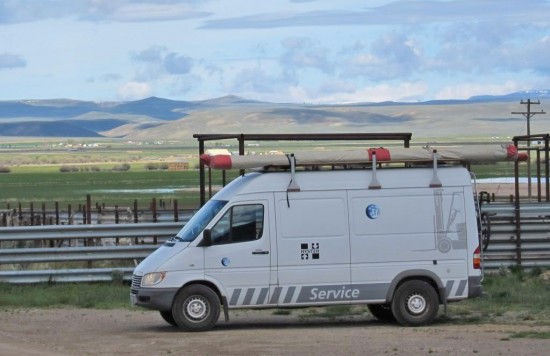
 Matt Keegan built his DIY Sprinter conversion from a 140″ WB 2004 Sprinter. After some time agonizing over whether to use the 118″ or 140″ WB van for a conversion, he taped out some floor plans on his basement floor and realized that the 140″ Sprinter van would have enough space for the features he wanted in his DIY camper. How did he find the base Sprinter van for his project?
Matt: “I bought the van after it was retired from the Hyster fleet, hence the stickers. I decided to keep them, which works as great camouflage for urban camping, although they could easily be removed…It’s badged as a Freightliner.” By the time he got it, the van had 170,000 miles on it already, but it hasn’t proved a problem so far, and the smaller 2.7-liter I5 turbodiesel has provided good fuel mileage: “I’ve never had any serious mechanical problems with the van, and it consistently gets 22-24 mpg.”
Matt has traveled all over the US since he completed the stealth camper van, and has found it a haven of comfort in all kinds of weather: “It’s been a good house over the last year. It’s well insulated with Reflectix and fiberglass, and did well in freezing temperatures parked on windy mountaintops, as well as keeping surprisingly cool in southern Arizona. I’ve driven it out to Maine, down to Florida, and back, and it’s a great highway vehicle. I also outfitted it with oversize tires for a bit more clearance, and it can handle some pretty rough forest roads as well. The biggest limitation to offroading is that I hate reorganizing the cupboards afterwards!”
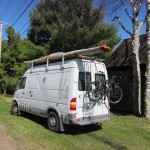
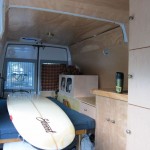
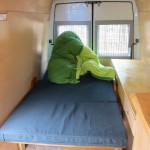
Like many Sprinter conversion builders, this is not the first floor plan for his Sprinter camper – Matt’s redesigned the interior from the original build, and the current version has a customized futon that converts easily to a couch. The removable bench behind the futon makes for a bed almost 7 feet long, and plenty wide for two.
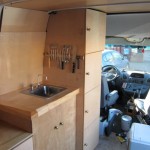
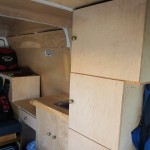
Matt: “I built up the cabinetry with 1/2 inch birch plywood. The countertop is 2-inch thick solid maple. The cabinets on the left side provide plenty of storage, and there’s a ton of space under the futon. The brass lighting fixtures are from West Marine, and it has a roof vent with an electric fan. I put the passenger seat on a swivel, which really increases the interior space. It has a triple roof rack on top that’s covered with plywood. It works great as an upper deck and is great for sleeping and stargazing…”
Although it’s a “stealth” Sprinter camper that fits right into an urban environment, the van still has all the necessary camping equipment for long road trips:
“The plumbing includes removable 6-gallon fresh and grey water tanks, with a sailboat-style foot pump. The electrical system consists of dual deep-cycle 12v AGM batteries, a Xantrex charger and converter, a connection to the vehicle alternator and battery with an automatic battery isolator, and a 20-watt solar panel with voltage regulator. I have wiring run behind the paneling for an additional AC outlet, but decided to use a portable Peltier refrigerator instead of installing one permanently.”
I asked Matt about how much the conversion cost him (besides the van), and how much effort it took: “…I probably spent about $2000, and spent 15-20 hrs a week for about 2 months building it, then plenty of time tinkering with the design. Tools included an electric drill, skilsaw, orbital sander, belt sander, and various common hand tools…The electrical system was the most challenging. I ended up installing an independent deep-cell battery system with solar panel, charge regulator, AC inverter, and auxiliary charging from the alternator as well. I had no prior electrical experience, so it took a while to get comfortable enough to customize the system to my needs, but it all worked out extremely well…”
Here’s hoping that plenty more adventures await Matt and his DIY Sprinter conversion in the future!
Gallery – Matt Keegan’s “Stealth” DIY Sprinter Camper Conversion
 |
 |
 |
 |
 |
 |


Comments on this entry are closed.