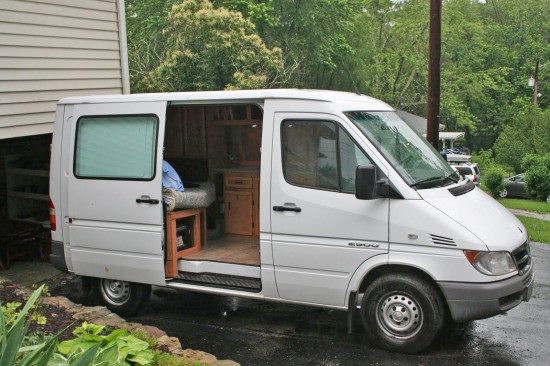
Mike Williams of Fayetteville, West Virginia, is a serious climber. And any serious climber is a road warrior. Only the fittest survive, and in the case of climber road trips, increasing evolutionary fitness ( I like to think) leads from VW Westy to Sprinter camper van. Seemingly so for Mike:
“Buying a new vehicle was a very difficult decision but I had to man up and do it. I’ve loved Troy, my 1986 VW Vanagon Westy, with all my heart. But it got to the point where I was unable to leave town for climbing trips. Kind of defeats the purpose of having a camper van if you can’t leave town to camp! So I was faced with the difficult decision of either putting thousands of dollars into a full restoration or spending 1000’s of dollars on a new rig. I bought a new rig. This is Max…the Road Warrior… Max is a Dodge Sprinter cargo van with a 2.7 liter turbo diesel Mercedes engine that will supposedly run up to 400,000 miles at about 30 mpg. Sick. He was used as a work truck in Iowa. I flew to Iowa to pick it up, filled up the tank across the street from the dealer, then drove it home, only stopping for gas once! It has a big tank. 800 miles on a tank and a quarter.”
Now when Mike is on the road, it’s in Max, his 2004 Sprinter 2500 118″ wheelbase camper van. A 118″ Sprinter camper? Yep, and Mike pimped it out himself. This DIY Sprinter camper is a great example of how to fit all the necessities into a very small space, on the cheap.
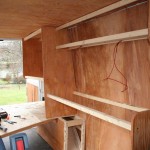
Mike built the first version of Max the Road Warrior and took it out on the road before uncovering some problems with his design:
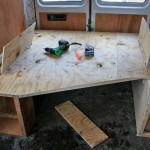
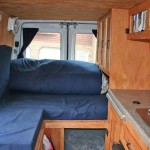
“Our biggest gripe was the bed…we were sleeping sideways with our feet under the cabinets. The Sprinter van is 5’8″ wide and I’m 5’10” …I brainstormed ideas for a bed that would maximize space for a year. Seriously. Much like the naked Archimedes and Doc from Back to the Future, my best ideas often come to me in the bathroom. Slightly less brilliant than a flux capacitor was my folding bed idea which came to me in the shower as I washed, rinsed, and repeated the flowing golden lock that covers my bald spot.”
“The other big improvement is the addition of a fridge. I researched for a long time and decided to go with electric over propane for a number of reasons. With the addition of a Novakool electric fridge I also needed to up my battery bank. I did have one 55 ah AGM battery mounted under the passenger seat and I chose to add in 200 more amp hours for a 255 total.”
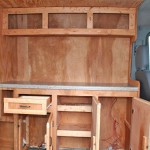
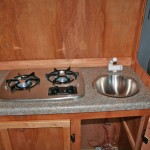
“I’m not going to go into all the pain-in-the-ass details of tearing apart everything and redoing it except to say that that is what I had to do. The counter had to come out an inch to accommodate the fridge depth and the cabinetry beneath had to be completely redone as well… I also added a slide out dining table for the booth, and a small table between the two front seats…The kitchen is improved. Food on the left, drawer and fridge center, pots and pans under sink.”
And after all this work to create a DIY Sprinter camper van, what is the upshot? Is Max 2.0 really Beyond Thunderdome?
Mike: “‘I’m really happy with the setup I have now. The 12V electric fridge was the right choice. The space available is perfect. I love having the shortest model Sprinter as a daily driver. At this point I wouldn’t change a thing. It suits my needs perfectly.”
Mike gives many more details about Max 2.0, his DIY Sprinter RV on his mikesironcladbeta blog. Also, Mike’s rig and several other great DIY Sprinter camper vans are featured on my DIY Gallery page.
Thinking of building your own DIY Sprinter camper van? Check out my Sprinter RV Conversion Sourcebook!
Gallery – DIY Sprinter Camper Van
 |
 |
 |
 |
 |
 |
 |
 |
 |


Comments on this entry are closed.