

DIY Sprinter Conversion Gallery
You want a Sprinter camper van, but at an affordable price? With some creativity and work, Sprinter do-it-yourself (DIY) conversions offer the path to your own uniquely customized Mercedes Sprinter RV. Here are some great examples of DIY Sprinter camper vans – I hope you’ll find them inspirational enough to start your own DIY Sprinter camper van. If you’re looking for detailed info on equipment and techniques for a custom Sprinter conversion, check out my Sprinter RV Conversion Sourcebook. The Sourcebook describes how to create a DIY Sprinter camper van that has all of the equipment and comforts you need, at a price you can afford.
The Sprinter conversions on this page mostly use the 118″ or 144″ wheelbase Sprinter cargo vans as their base. These smaller Sprinter vans are large enough for a camper conversion for two people, but very compact. Starting with a smaller Sprinter van has some advantages for a DIY Sprinter conversion, namely that:
- the base Sprinter cargo van is cheap to buy
- the small size and light weight makes the van a good daily driver (maneuverable and fuel-efficient), able to get into tight spots in the city and outdoors
- the van is small enough so that a camper interior build-out doesn’t take years or cost a fortune!
DIY Sprinter Gallery: Miguel – 170″ WB Sprinter DIY Conversion
Miguel Santana wanted a Sprinter van for hauling his dirt bikes, and for camping out on weekends: “I chose the 170″ Sprinter because I wanted to be able to sleep and fit dirt bikes in the back…my key priorities when doing the build were fold-up beds, lots of storage, an Espar heater and insulation, without getting too complicated. I wanted it to be durable, yet easy to set up for sleeping and eating… I’ve worked on it mostly in the winter when the weather was warm enough…I bought the van new, and I’ve put at least another $6000 into the interior…The van has interior LED lighting, cigarette-lighter-style 12V outlets and USB plugs as well. The ARB fridge draws very little power. I also have overhead cabinets (both open and enclosed) and a tool cabinet which holds dirt bike riding tools and clothes, plus space for over a week’s worth of food. I also carry a Power Tank which is great for any tire repairs, or airing the tires down for better traction in sand and for the tires on the dirt bikes as well.”
 |
 |
 |
 |
 |
 |
For more, see Heavy-Duty DIY Sprinter Bike Hauler.
DIY Sprinter Gallery: Beth & Forrest – 140″ WB Sprinter DIY Conversion
Beth and Forrest Bault wanted to build a simple, high-quality van capable of going off-road. They chose a Sprinter for its great gas mileage, head-room, and ground clearance: “…the Sprinter has excellent ground clearance for a van—in fact, the van has more ground clearance than our Jeep on 31” tires. The 140” was the best option for us, as we needed more length than a 118” and the 158” is too long for off-road use. It was never our intention to include a bathroom in our Sprinter conversion and the 140” has plenty of room for the two of us and Sprocket.” The build happened over the course of several months: the cabinets took a week to make and the rest was done on weekends…We spent $20K on the van, (and) put significantly less than $20K into the conversion. Keeping things simple also helps keep the costs down. You’re living/traveling in a van–how much do you really need?!”
") |
") |
") |
") |
") |
") |
For more, see Three Adventurers Now Call a Sprinter Home.
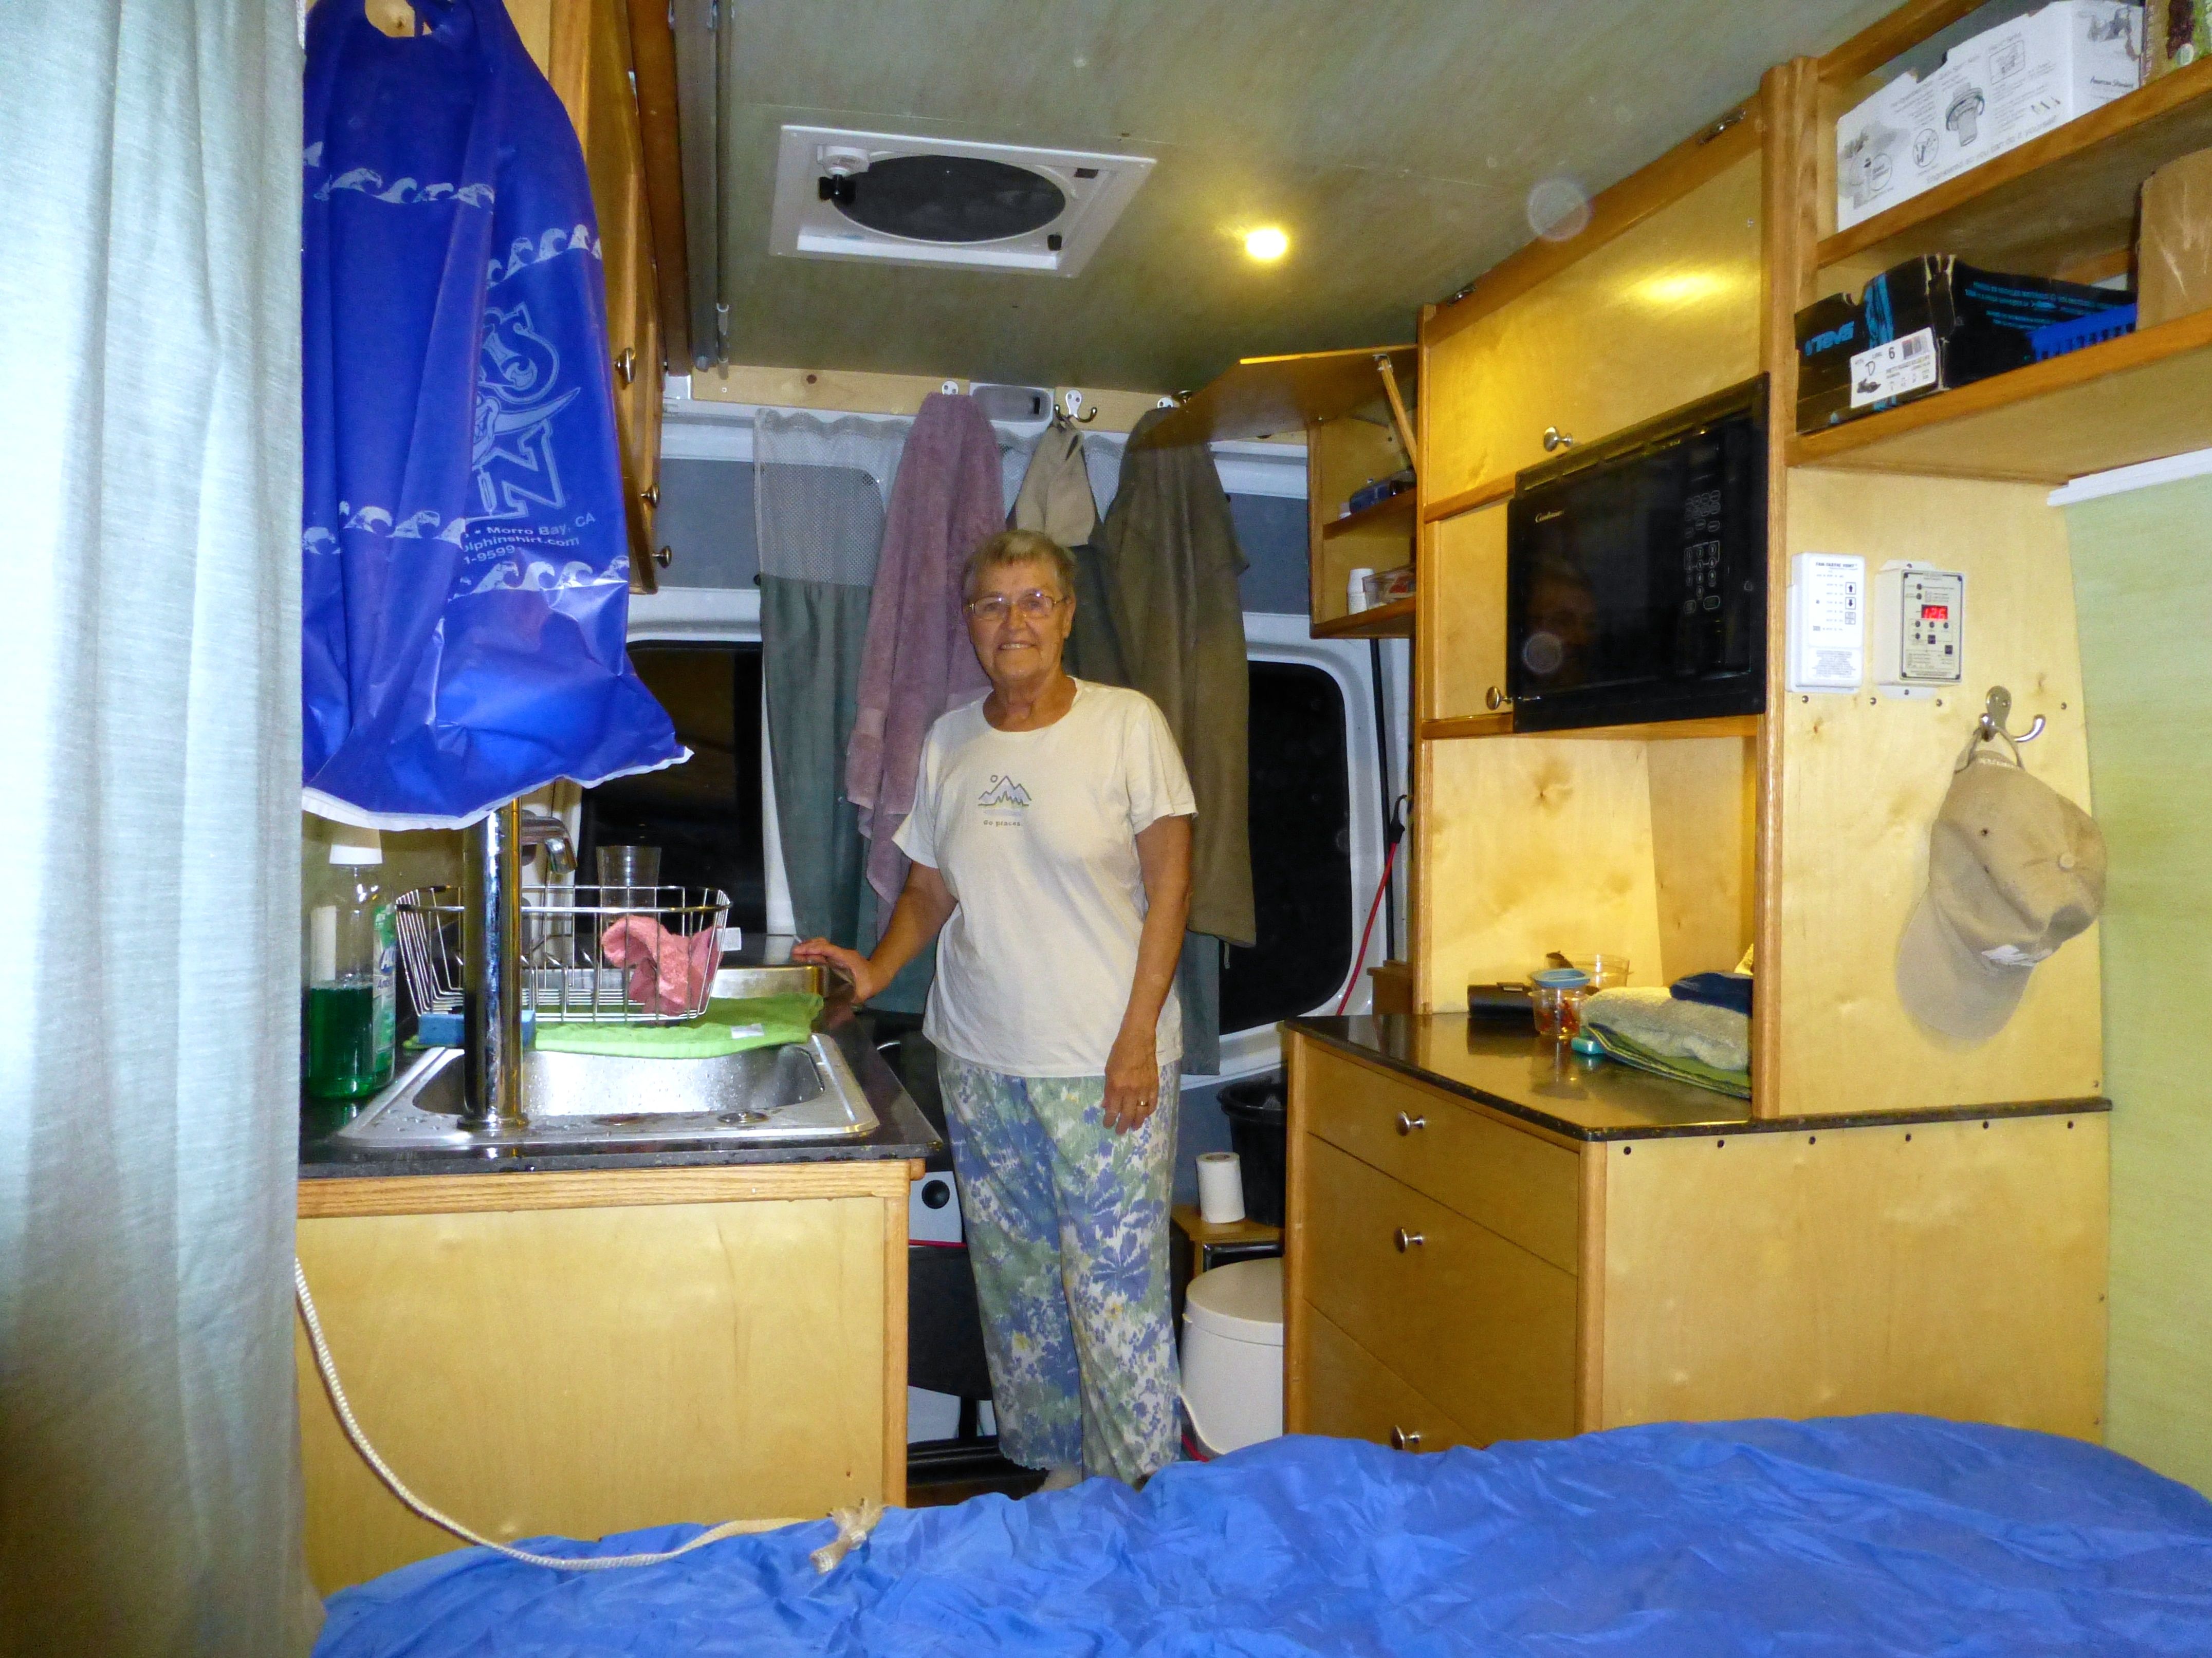
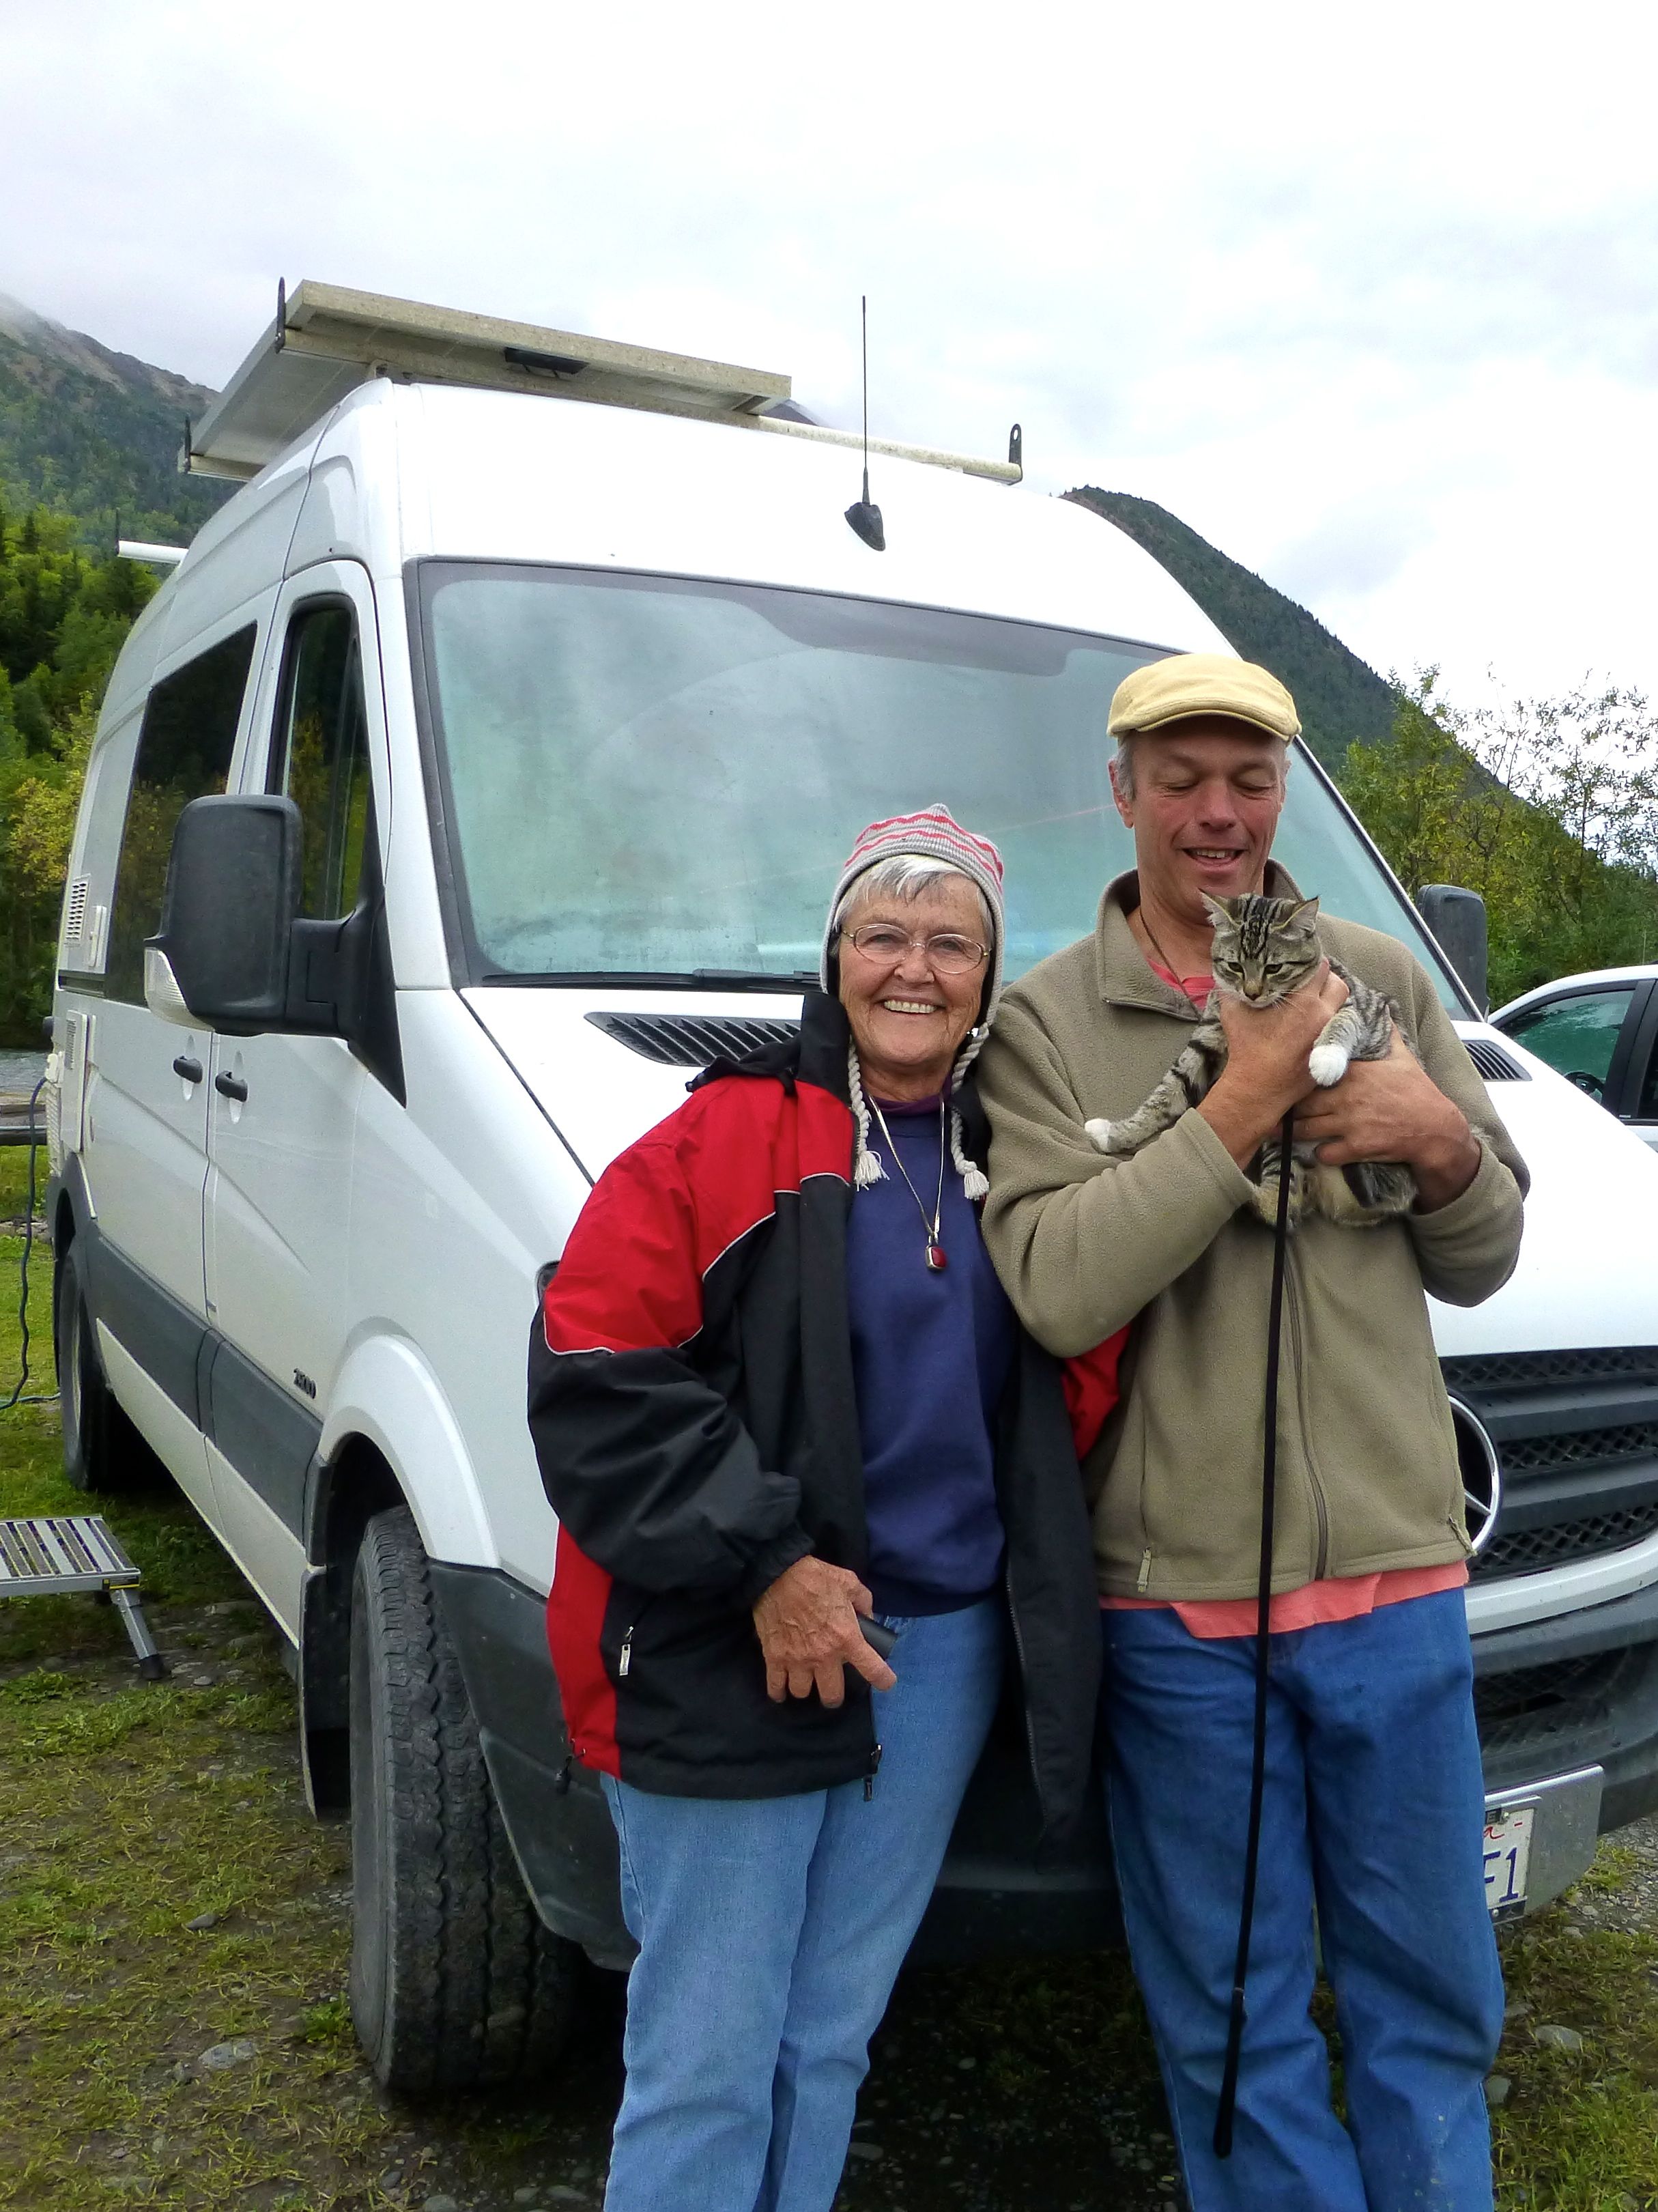
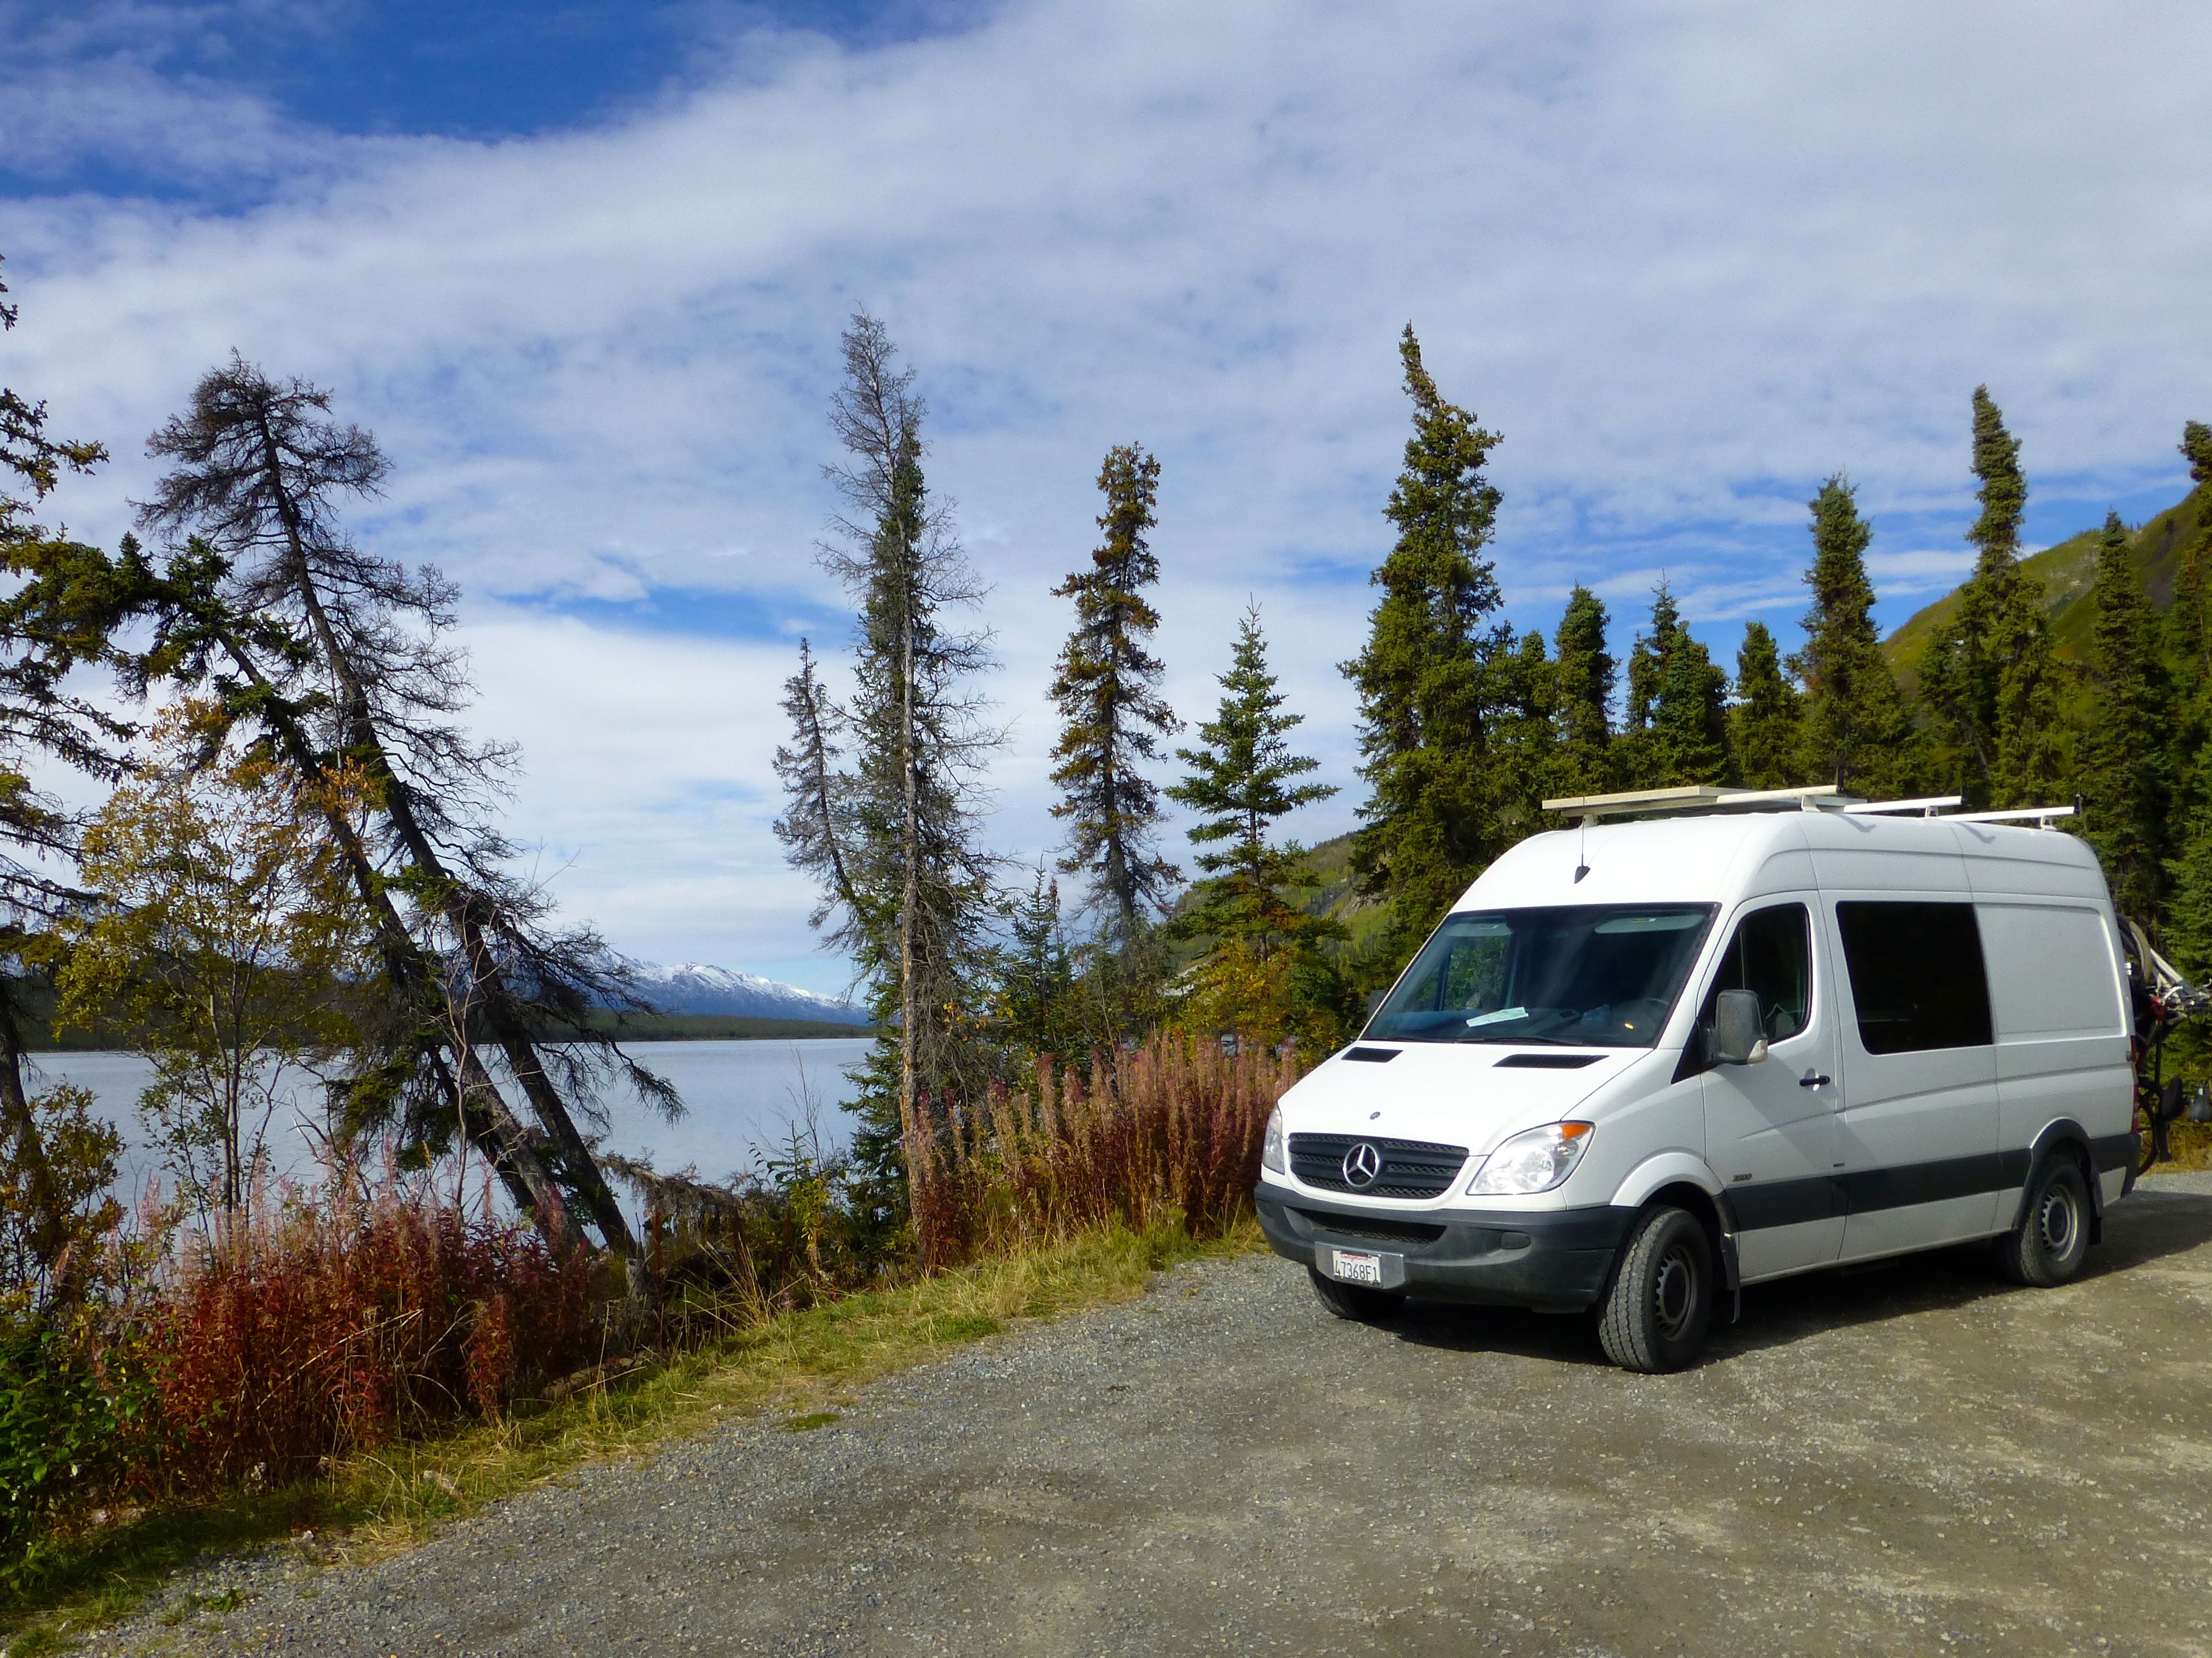
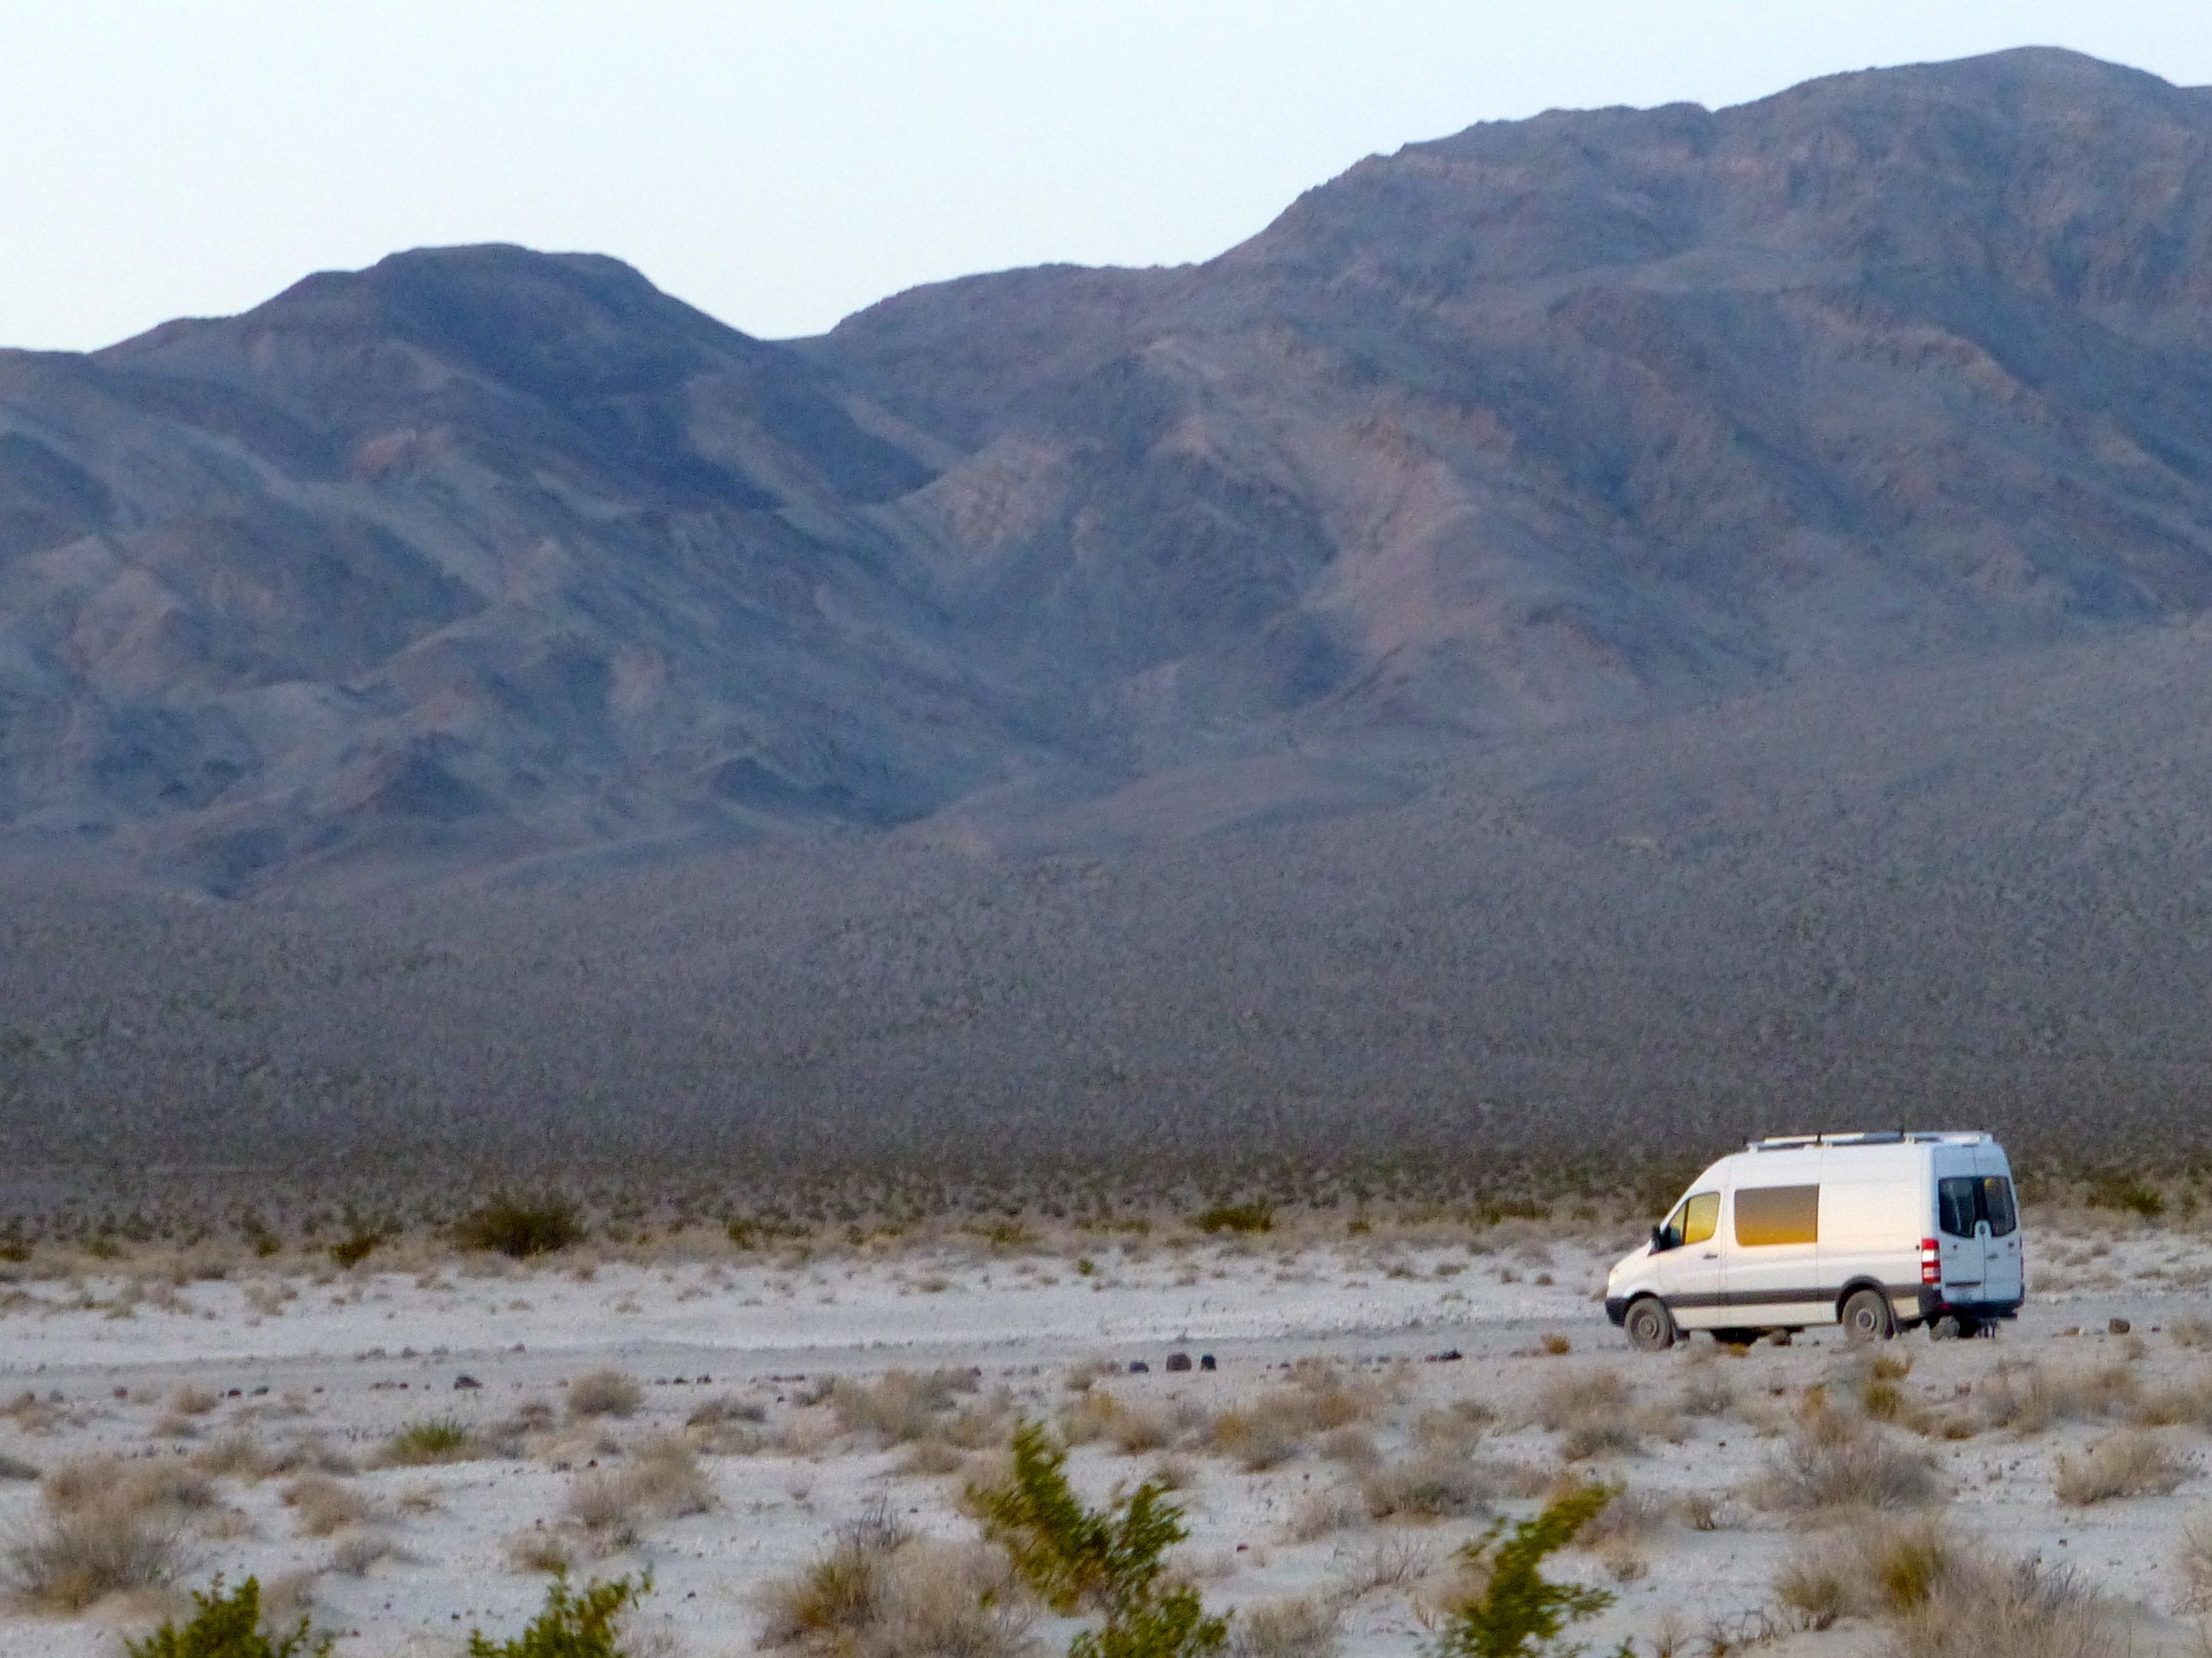
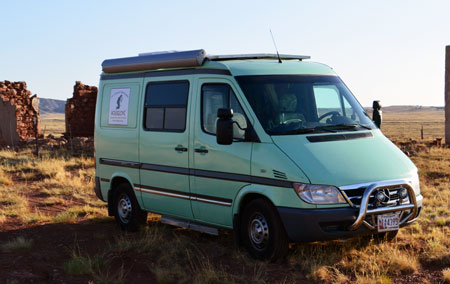
DIY Sprinter Gallery: Willimann – 144″ WB Sprinter DIY Conversion
Urs Willimann had travelled all throughout Australia with a camper van, and thought that it was the perfect travel vehicle: “I learned quickly about the various models of the Sprinter vans, and decided the Sprinter 2500 144″ wheelbase crew van was best suited for us: plenty of weight capacity, very maneuverable and best of all, my wife likes to drive it! I had the basic design in my head, mainly driven by aesthetics and what worked in our Australian camper van…we checked out some RV shows, but many of these conversions seemed claustrophobic, too complicated or not well thought out….I prefer simpler designs, (so I) decided to convert a van myself.… It was important to first figure out what I wanted, then decide on the systems that were needed, research the appliances that would do the trick and order them, and once everything was here I could get started…The total Sprinter camper conversion, van and fittings included down to the last teaspoon, cost me just about US$50,000, and it took me about three months or about 350 hours.”
 |
 |
 |
 |
 |
 |
For more, see Carving Out the Essential Sprinter Getaway Van.
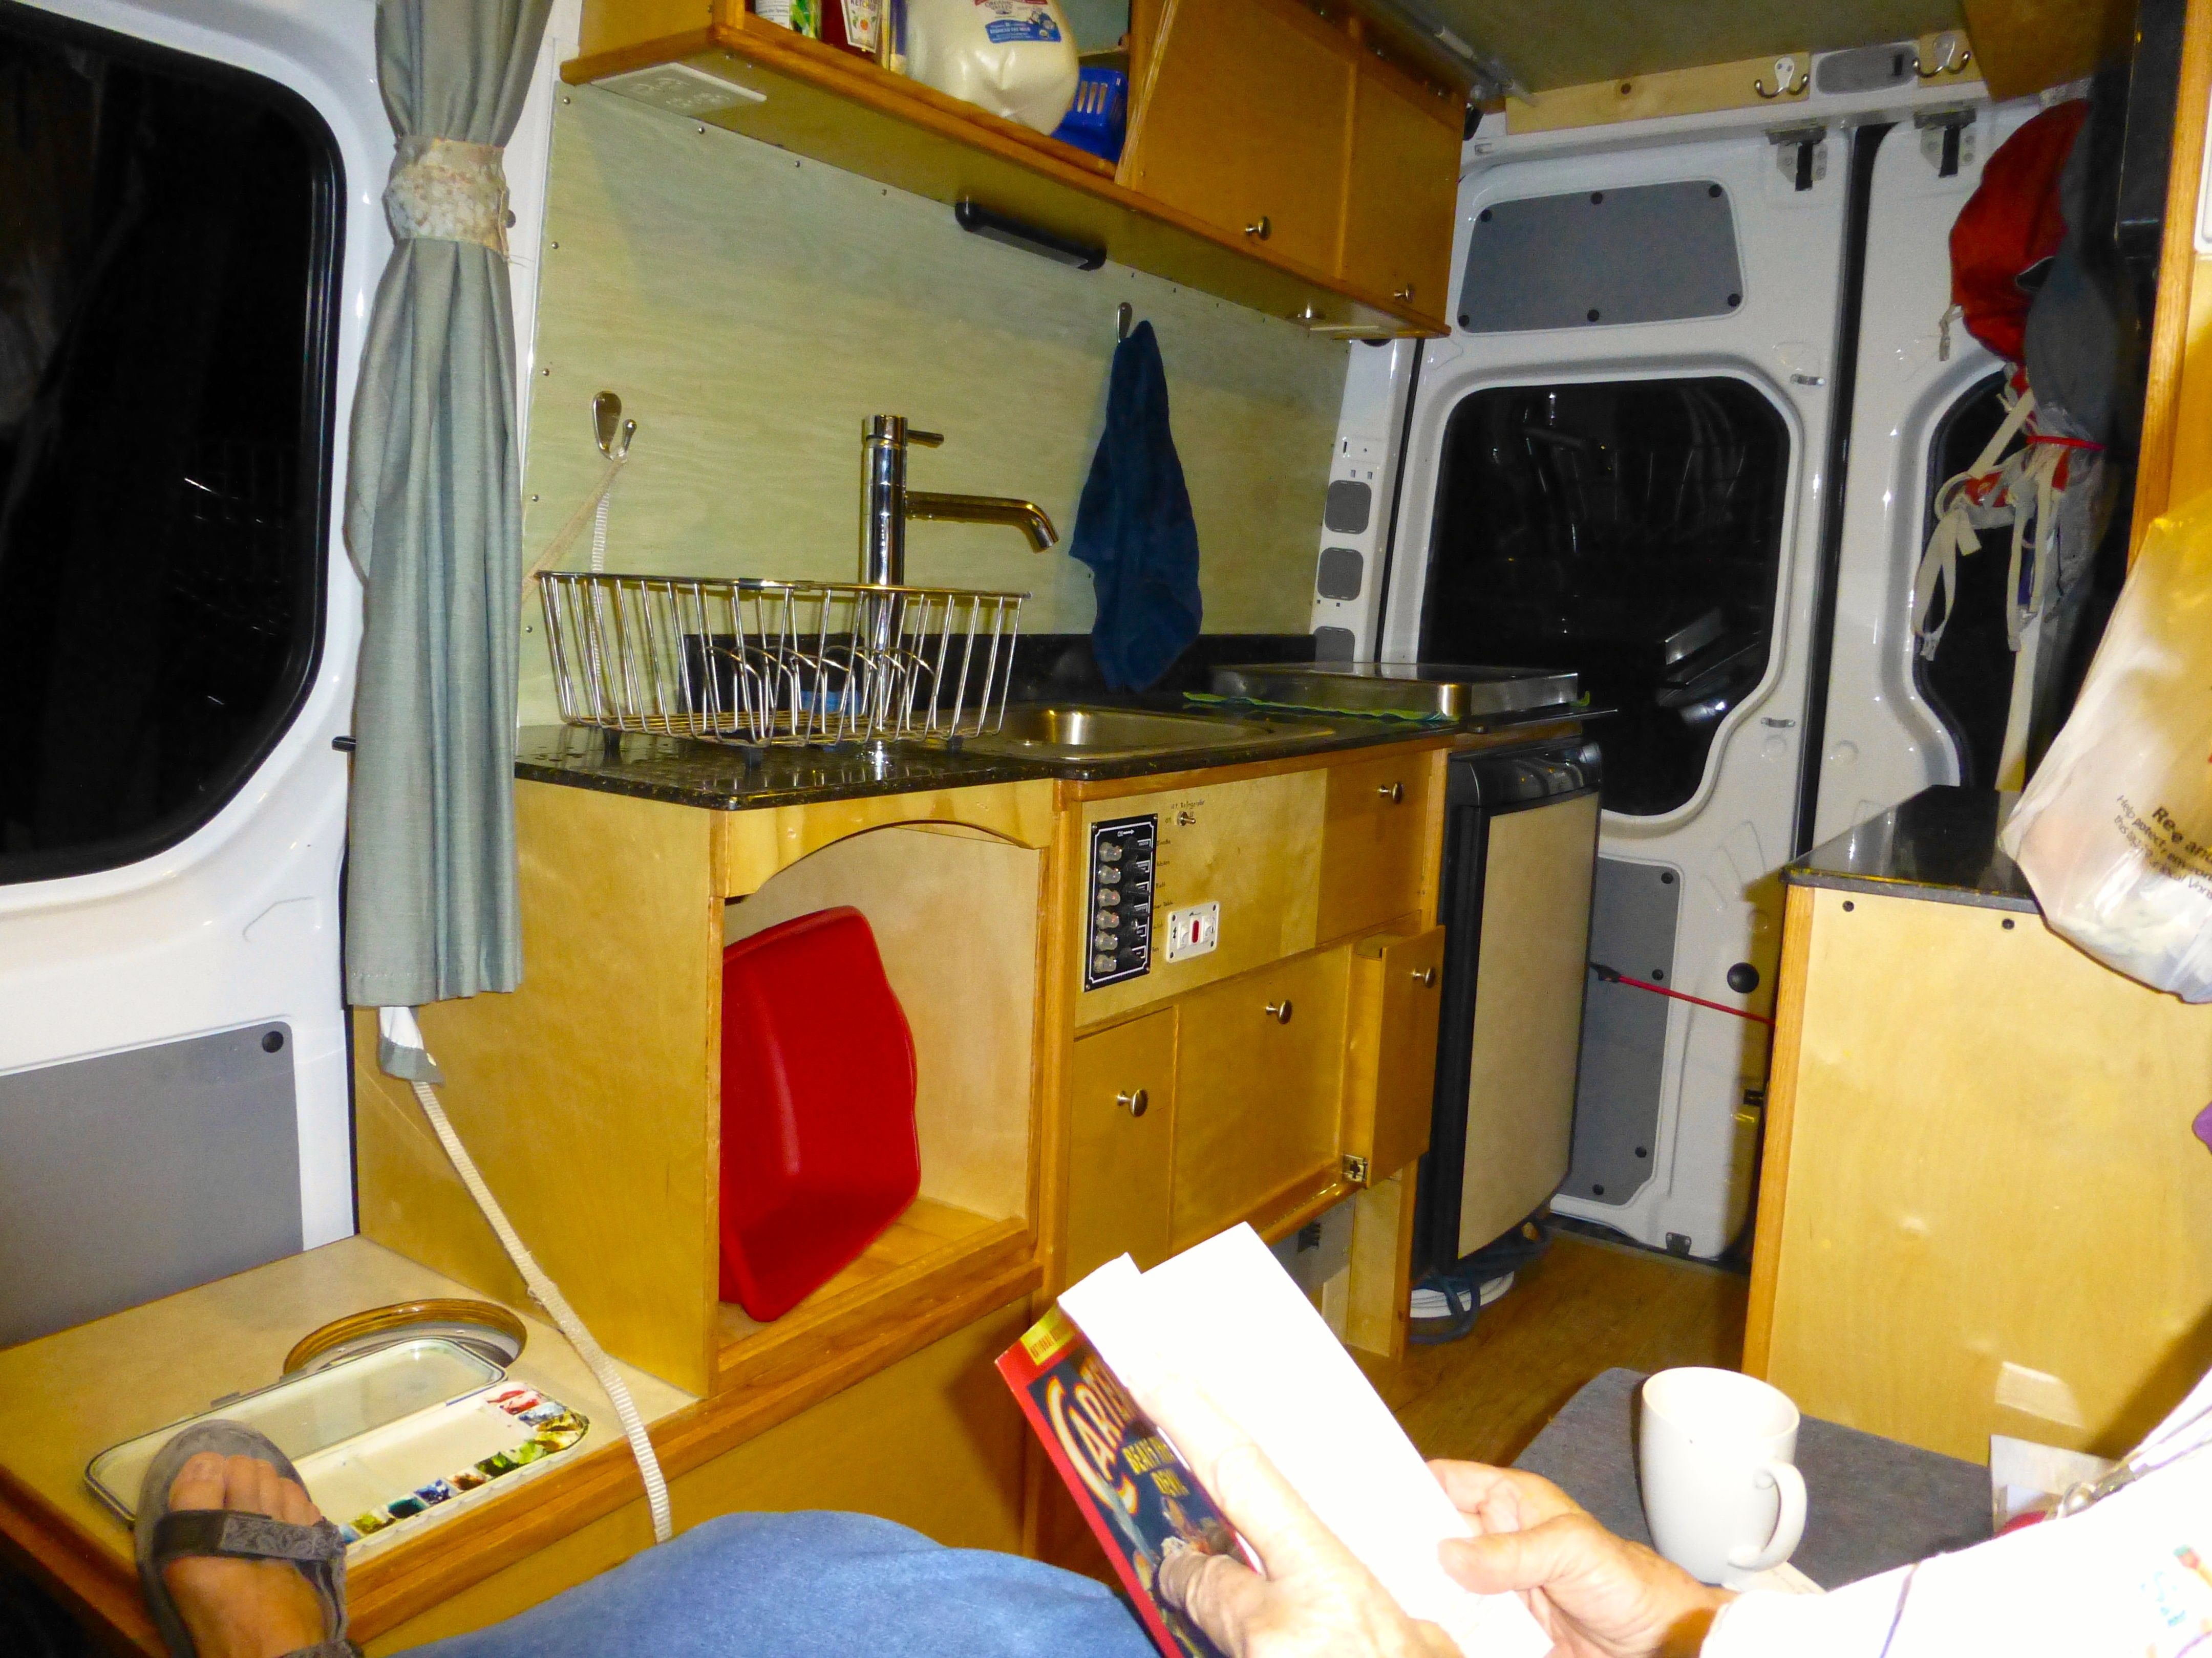
DIY Sprinter Gallery – Ron and Jill’s 118″ WB DIY Sprinter Conversion
Ron and Jill Tanner are the Houselove team: their project of renovating a circa-1897 Baltimore row house turned from a hobby almost into a vocation, as Ron’s blog (and new book) have turned the Houselove couple into a fixture among the reno-obsessed. They also have created their own custom Sprinter conversion on a very short 118″ chassis, with a one-of-a-kind retro feel to it, kind of like…a stylishly redone old house! Coincidence? Ron: “I did a lot of research on which van to convert…The Sprinter was hands-down the best bet for getting the most space in the smallest package…As a design project, this was a huge challenge…I had to have 1) a cooktop and sink, b) enough storage for food, kitchen equipment — including a water heater, and c) a full bed…Total cost was close to $60K. $20K for the used 2006 van (with 60K miles on it). Biggest expense was the electrical system: solar panels, 6 AGM batteries, big inverter, breaker panels, etc. Second-biggest expense was the custom paint job and body work. Third-biggest expense was the water system, which included custom aluminum holding tanks, custom stainless steel counter and other fixtures. The van itself needed (a new) EGR valve and shifter/transmission. I replaced the shocks and stabilizer bar, got new tires…So my own work on the van, with some down time for custom tank fittings etc., lasted about 6 months…I am surprised by how much storage space there is for clothes and food. For four months, I traveled fully loaded all over the country and then, when Jill joined me, I still had room for her stuff too…I’m really pleased with the electrical system. I’ve got all the outlets and lights and extras I’ve ever wanted. And, because of multiple power sources (both solar and alternator feed), I can take this van anywhere without power worries.”
 |
") |
") |
") |
") |
") |
For more, see From Houselove to Sprinterlove.
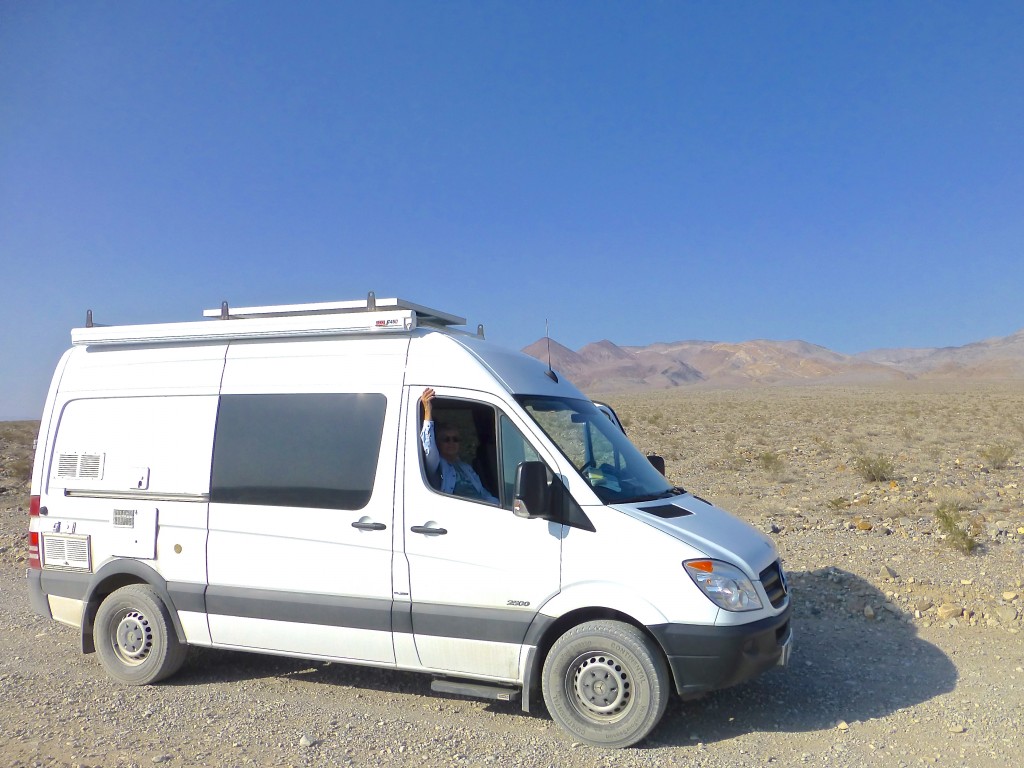
DIY Sprinter Gallery – Mark’s Stealth 170″ WB DIY Sprinter Conversion
Mark Ramsbottom and his partner built a “stealth” DIY Sprinter RV conversion from a 2010 MB Sprinter 316 CDI, what we in the States call a Sprinter 2500 cargo van on a 170″ wheelbase. Their van has lots of interior lights, an electric bed that lowers from the ceiling, and a cozy apartment feel, all powered by solar and diesel: “Major design goals were to maximize livability as we are living in the van full-time. We wanted a lounge area that was big enough for both of us to comfortably lie fully extended on our own couch, to assist with long periods of potentially being inside during poor weather. We wanted a kitchen that was usable with bench space, and a bed that had a decent mattress that didn’t need making each day. Power-wise, we didn’t want to plug into power, use a generator, or carry gas. Solar/diesel only – fill up the tank and it’s all done…We decided to forgo a separate shower/toilet room as it would take too much space, add too much weight in water, and would only be used for minutes a day. The open plan feel to our van was important to us. in the end, there was only three areas to design – kitchen, lounge, bedroom. Lots of insulation, so no heating/cooling so far…took about 4 months full-time to complete, a lot longer than we originally thought…We used what are hopefully quality parts, so our cost was quite high; probably about $20,000 plus the van purchase.”
 |
 |
 |
 |
 |
 |
For more, see Stealth Sprinter Down Under.
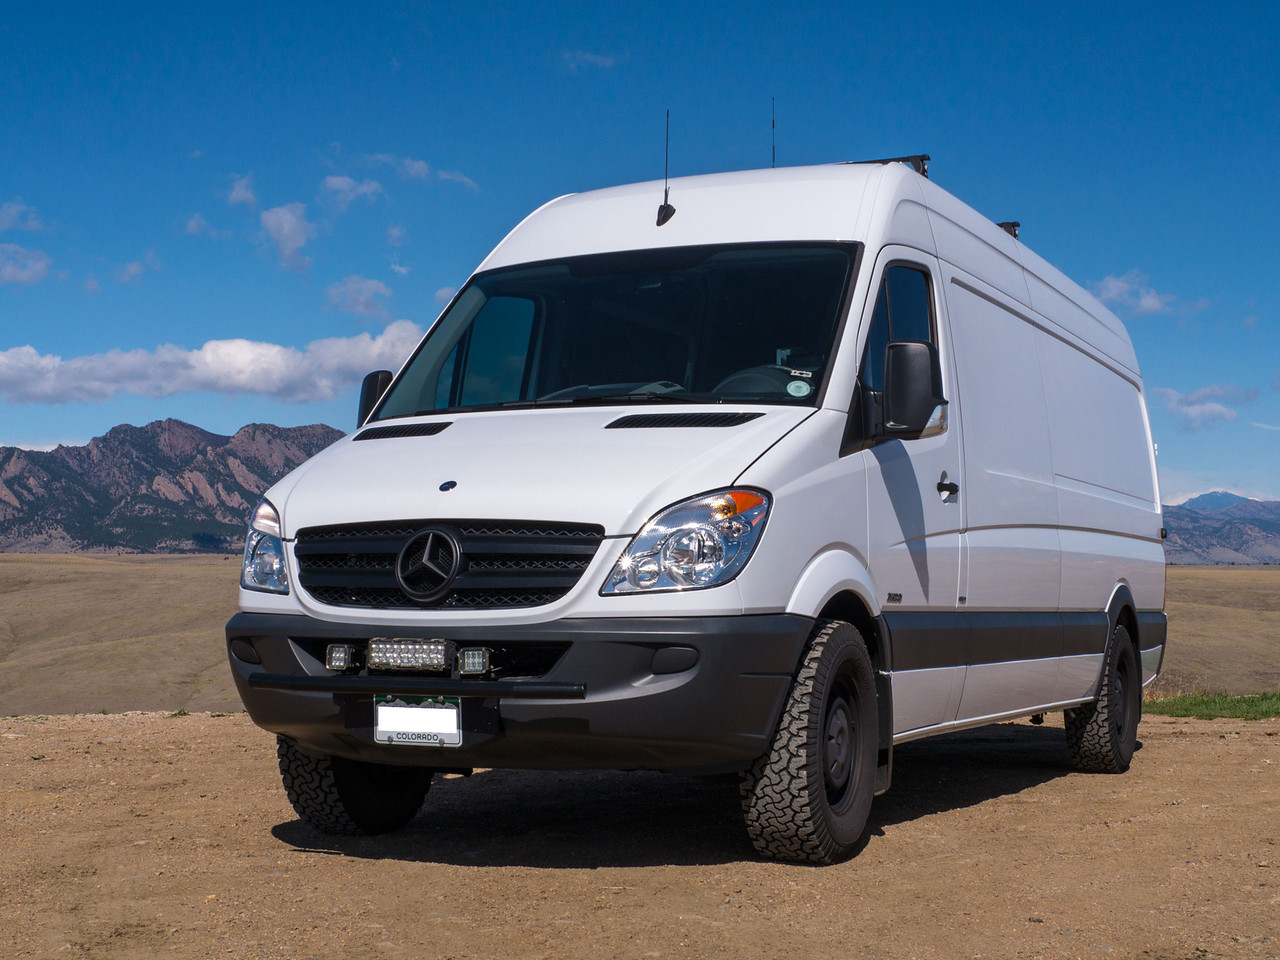
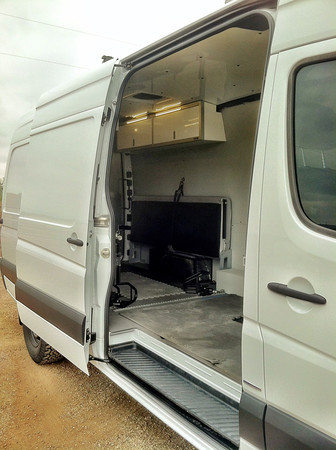
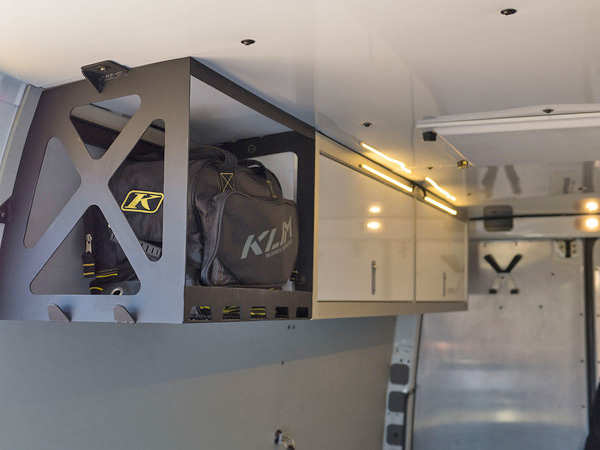
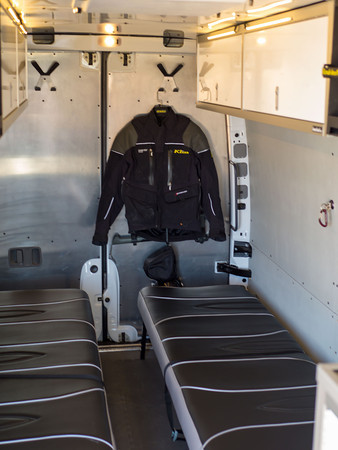
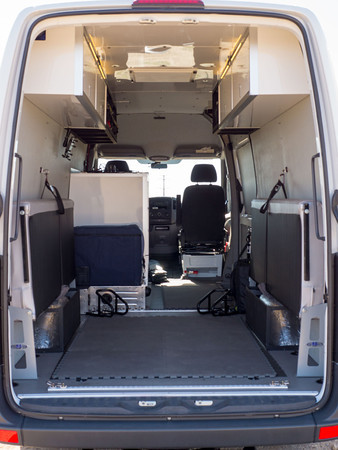
DIY Sprinter Gallery: Allen – 170″ WB Sprinter DIY Conversion
Allen Sutter did his own Sprinter DIY conversion, though when you look at the pictures, you’ll realize “DIY” may not be the term that comes to mind. Allen happens to be a professional cabinetmaker, and the owner of Sutter Fine Woodwork. Allen wanted “…a gourmet kitchen with a generous refrigerator, a very comfortable full-time bed, lots of light, lots of storage and a garage for bikes and other gear. I went through a few arrangements until I came up with a plan that worked for us. I don’t start construction on any project until the details are nailed down and the only adjustments were in the fitting.” It took about two months beginning to end, including insulating, with most of the materials used being leftovers from jobs and inventory items.
 |
 |
 |
 |
 |
 |
For more, see The Great Canadian DIY Sprinter Conversion.
DIY Sprinter Gallery: Nate – 144″ WB Sprinter DIY Conversion
Nate, a climber in Boulder, Colorado, had been dreaming about and planning his Sprinter camper van for some time: “Last fall I finally broke down and bought a Sprinter. It’s my first new vehicle. I’ve been climbing 23 years. I’ve always wanted something like this. I had a budget for this conversion, at some point early on. I quickly realized how time-consuming and challenging these 100% custom conversions are, so making something worth the time I was investing became the priority. Total time came to roughly 400 hours spread over 8 months. I’ve been out in it just about every weekend since!” (from Sprinter Forum)
 |
 |
 |
 |
 |
 |
 |
 |
 |
DIY Sprinter Gallery: Max the Road Warrior – 118″ WB Sprinter DIY Conversion
Mike Williams is a climber from Fayetteville, West Virginia. His stomping grounds are the New River Gorge, where he also guides for New River Guides, the Red, and numerous other local areas. When he’s on the road, he’s out in Max 2.0 – the slightly revised version of his DIY Sprinter camper van, built from a 2004 Sprinter 2500 118″ wheelbase low-roof cargo van. Mike: “‘I’m really happy with the setup I have now. The 12V electric fridge was the right choice. The space available is perfect. I love having the shortest model as a daily driver. At this point I wouldn’t change a thing. It suits my needs perfectly.”
 |
 |
 |
 |
 |
 |
For more, see Max 2.0, DIY Sprinter Camper Van.
DIY Sprinter Gallery: Paul – 140″ WB Sprinter DIY Conversion
Paul Jensen, a surfboard builder in Lacey, Washington, likes clean and efficient designs, and his 2006 Sprinter conversion reflects it: “All my van conversions share a similar aesthetic…Good clean work where the materials stand plain and simple…I’m not showing off fancy carpentry, instead I build cost efficient and practical.” His build includes beautiful cabinets made from Baltic birch plywood, faced with Radiata pine, where the larger drawers are sized for Rubbermaid totes and barrel bolts keep them closed for travel. He’s also got 12′ of LED rope lights for stylish illumination, and a funky gravity-fed 8-gallon water supply built from 10′ of 4″ PVC water pipe, epoxied at the seams and mounted with steel hose clamps (with washers and bolts in the side wall) and zip-ties.
See his trip reports and surfboard building workshops at his Web site.
 |
 |
 |
 |
 |
 |
 |
 |
 |
DIY Sprinter Gallery: “Stealth” 140″ WB Sprinter DIY Conversion
Matt Keegan of Portland, OR, built his stealth Sprinter camper from an ex-service van. Matt:”..I probably spent about $2000, and spent 15-20 hrs a week for about 2 months building it, then plenty of time tinkering with the design. Tools included an electric drill, skilsaw, orbital sander, belt sander, and various common hand tools. The electrical system was the most challenging. I ended up installing an independent deep-cell battery system with solar panel, charge regulator, AC inverter, and auxiliary charging from the alternator as well…I actually rarely used all the battery capacity I built in, since I didn’t do much extended camping without driving. If I had used LED lighting instead of incandescent, I probably could have just wired directly from the coach battery and saved a ton of extra wiring…I had planned to install a fridge and diesel heater, but never really needed them. I was glad I had done such a thorough job insulating before I installed the paneling. I had it in the deserts in utah in the summer as well as in Maine in the winter, and it would have been miserable without good insulation.”
 |
 |
 |
 |
 |
 |
DIY Sprinter Gallery: Dudley – 118″ WB Sprinter DIY Conversion
Madaleine Sorkin is a climber who can sometimes be found in Boulder, Colorado, but she’s often on the road in her Sprinter, a very cool small camper: “Coal miners in England used to bring a “Dudley” down into the pit with them. It was a bottle of water to keep them from dying of thirst down there (they also brought “snap”-bread and jam). My “Dudley” is the name of my beloved Sprinter camper van…”
More of Madaleine’s adventures on the Cirque Ladies 2010 blog.
 |
 |
 |
 |
 |
 |
DIY Sprinter Gallery: The “Vansion” – 144″ Low-Roof Sprinter DIY Conversion
Jim Lawyer’s “Vansion” is a sweet piece of work. As a climber with woodworking skills, his DIY Sprinter camper van includes a lot of practical ideas turned into homespun art. Jim says that this is “my conversion of a Sprinter into a road-tripping “mobile hut” for rock climbing. I bought the van last April (April 2008) and did the conversion over five weeks in time for my annual climbing road trip with my nephew.”
More of Jim’s impressive collection of globe-trotting climbing pics at his site Jimbo’s World.
 |
 |
 |
 |
 |
 |
 |
 |
 |